If you own your home, repairs are inevitable. Fortunately, while not everyone’s suited to handywork, there are plenty of common home repairs you can do yourself. This list includes some of the most frequent home repairs you might encounter that can easily become a money-saving DIY project.
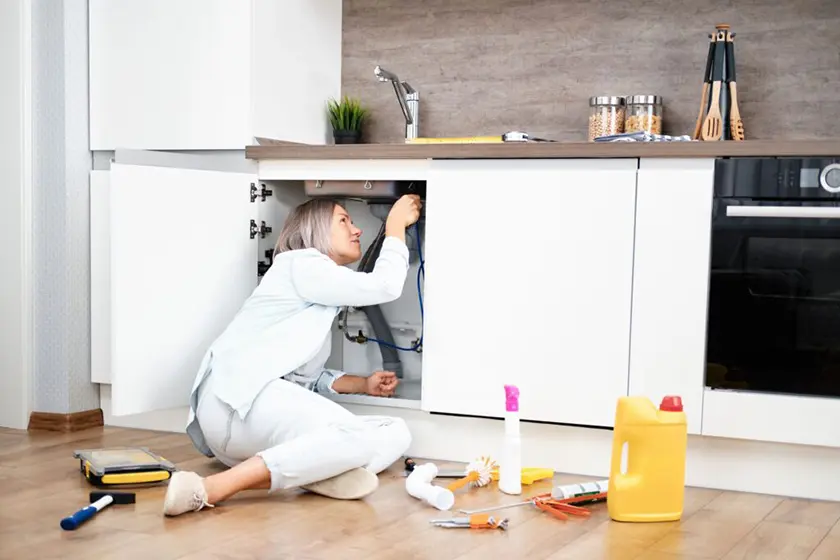
Leaky pipes in the bathroom or kitchen can be a surprisingly easy DIY repair. If the leak is coming from an exposed portion of pipe that’s easy to access, you should be more than capable of handling it on your own.
Patch up a leak using epoxy putty, fiberglass or silicon tape, or repair clamps. Which you use depends on the situation:
If your leak is coming from a pipe inside the wall or any hard-to-reach location, it’s best to call in an expert to handle the fix.
Did you know? Your home warranty may cover your home plumbing system! If you have a home warranty with Select, submit your claim and a representative will contact you shortly. For instance, in cities like Nashville, where a mix of older homes and newer builds can present different plumbing challenges, having reliable support matters. Many homeowners choose a trusted home warranty provider in Nashville to help manage repair costs when issues go beyond DIY fixes.
Don’t have a home warranty? Contact us for a free quote today! You can also explore our plans by calling 800-670-8931 and find the perfect coverage for your home.
For nail holes, dents, or other small holes, spread a small amount of spackling evenly over the damaged area. Wait for it to dry, then sand it smooth. A bit of paint will help to make it look like there was never any damage there in the first place.
You can also fix popped nail heads by drilling a drywall screw into the stud just above the nail head. Afterwards, hammer the nail into the wall so it is flush with the drywall, and use the spackling method above to make things good as new.
If you have large holes or are experiencing leaks that damage drywall, calling a professional for drywall replacement is a safer bet than trying to handle it on your own.
Fixing a clog in your garbage disposal can be a simple DIY task.
First, always turn off your garbage disposal before doing any kind of maintenance. If it’s plugged into an outlet, unplug it.
Remember: you should never stick your hand inside a garbage disposal, regardless of whether it’s on or off.
After you’ve taken those simple safety measures, use a flashlight to see if you can find any obvious obstructions. Using a pair of pliers or tongs and removing it may be enough to clear the clog.
If the unit has a lot of buildup, a mixture of baking soda and vinegar can loosen blockages.
If neither of the above methods works, a plunger can also clear away clogs. Use a stopper to fill the sink with enough water to create a seal for the plunger. Then, plunge up and down for a few minutes. After that, run some cold water. If it worked, the garbage disposal should drain easily.
If you’ve attempted to clean out your garbage disposal unit and still notice blockages, clogging, or other issues, consult a professional to see if there is a larger issue.
Sometimes, your garbage disposal may be beyond repair. Look out for these signs it’s time to replace your garbage disposal.
Did you know? Your home warranty may cover issues with your garbage disposal! Learn more about the home warranty plans that can protect your home systems and appliances.
Cleaning out your gutters regularly can prevent leaks, damage to siding, and mold issues. Make sure to use an extension ladder that can be leaned against your house, as step ladders are too short to get the job done safely.
You’ll also want a tarp for collecting the bulk of the debris and a hose to clean out any remaining bits that are out of reach.
Having a helper to keep the ladder steady for you and make sure debris is staying on the tarp can make this project even easier (and significantly safer).
If you have uneven ground or a roof that is too tall to reach with a conventional extension ladder, call a professional to ensure a safe cleaning.
A centerset faucet is simple to replace on your own, as it doesn’t have too many extra hoses and connections. The new faucet head should come with manufacturer’s instructions to make the installation process simple. Remember to turn off your main water supply before starting any repair or replacement work.
If you have a multi-head setup with several hoses and extensions, it’s best for a professional to handle that sort of replacement and installation.
Did you know? Home warranties can save you money on the costs of repair or replacement for covered issues.
While a home warranty won’t cover everything, it can cover the most common problems with your plumbing, HVAC, and electric systems, major/minor appliances, and more!
In fact, most of your appliances and home systems can be covered under a home warranty. This kind of coverage is separate from homeowners insurance, which typically only protects accidental damages. Regardless of how handy you are with home repairs, a home warranty can save you time and money when you need it most.
When everyday wear and tear causes appliance or system breakdowns, a Select Home Warranty can help ease the burden of large repair costs. Get your free quote today!
Looking for more tips and DIY home projects? Check out these guides!

Don’t wait until it’s too late! Check out our current plans and get your free quote.
Household Tips
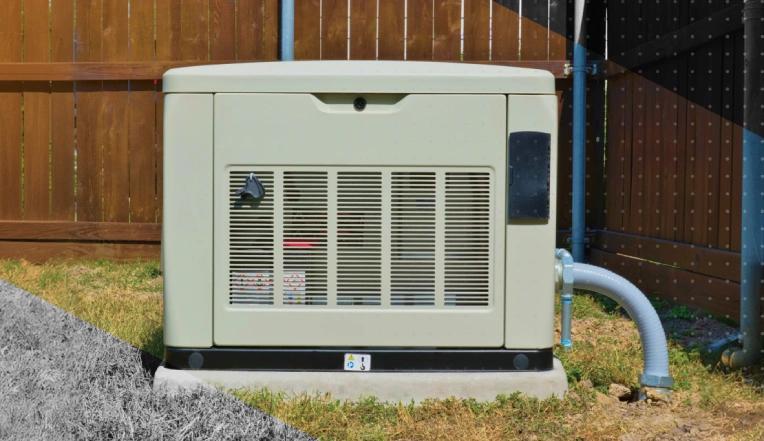
If reliable backup power is on your radar, whole home generator installation is probably part of the conversation. If you have ever lost power during a storm, you know how..

Home Warranty
Trust matters for homeowners. Whether it’s trusting a contractor, choosing coverage for major appliances, or supporting a favorite football team, people gravitate toward brands that represent consistency, reliability, and long-term..

Real Estate
One of the most important milestones in life is buying your first home. It’s a time that everyone has dreamed about, imagining the size of the yard and the color..