Without a doubt, toilets are among the most important elements of any home plumbing system. Of course, when there’s a problem with any toilet, this makes it all the more frustrating. When your at-home facilities give you a hard time, try these toilet repair and troubleshooting tips for a DIY fix.
In this article, we cover the most common toilet problems and the easiest ways to resolve them.
Toilets can be expensive to repair or replace, especially if you’re calling in a professional and lack home warranty coverage.
According to HomeGuide, it might cost anywhere from $130 to $310 to call in a plumber for a toilet repair. More involved repairs can run upwards of $450.
Compare that to the $45 to $200 cost estimate of a similar DIY repair, and it’s easy to see why taking the fix on yourself is so appealing. Similarly, repairing a toilet is going to be way cheaper than replacing one in most cases.
HomeAdvisor suggests that the average toilet will set you back $500, with prices ranging from $90 to $1,500. That’s quite the range and certainly not a bill you’d want to take on, especially if the toilet is only a few years old.
For homeowners in smaller Tennessee communities like Brownsville, where plumber availability can be limited and service calls run on the higher end, having home warranty coverage in Brownsville means a vetted professional is just one claim away, no searching required.
If you have a good home warranty with coverage for your plumbing system, issues with your toilet may be covered, too.
Examples of the issues covered by a home warranty from SHW include:
Plumbing home warranty coverage also protects against stoppages in drains, vents, and sewer lines that are a result of normal wear and tear. Before you start down the path of DIY toilet repair, check the terms of your home warranty. You might save big bucks on a professional fix.
If you don’t have a home warranty, SHW is here to help! It only takes a moment to get a free quote. Just click on the link below or call us at 800-670-8931.
One of the most common repairs involves fixing a broken toilet handle.
To remove the old, broken handle:
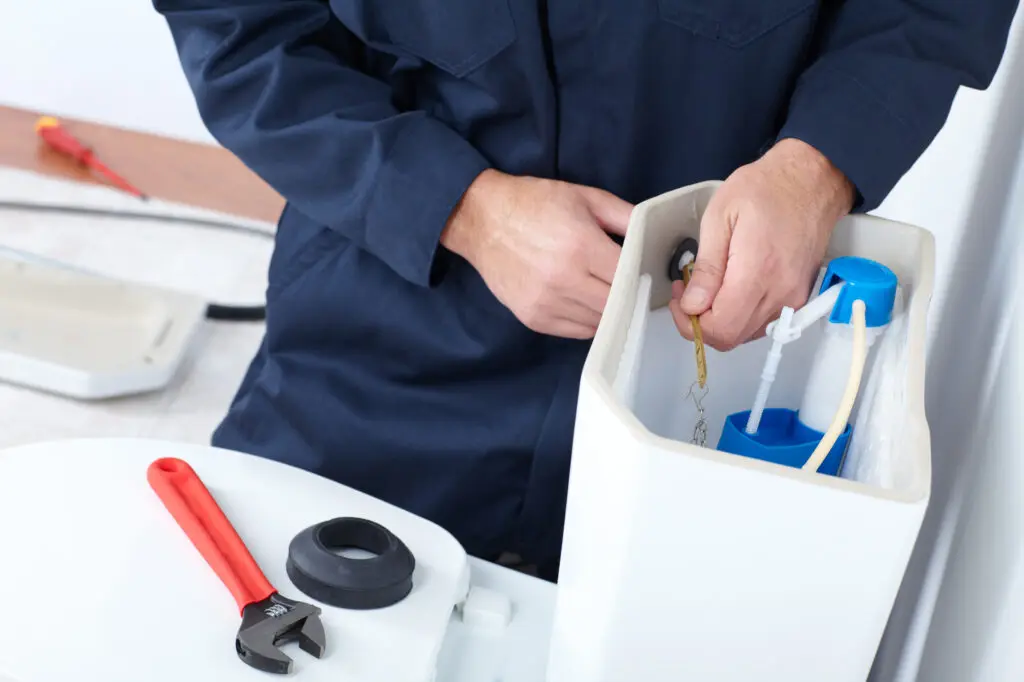
First, remove the toilet tank lid. Place it gently in a safe spot, this way you don’t accidentally break it. From here, you’ll be able to see where the handle extends with a long arm called the “flush lever.”
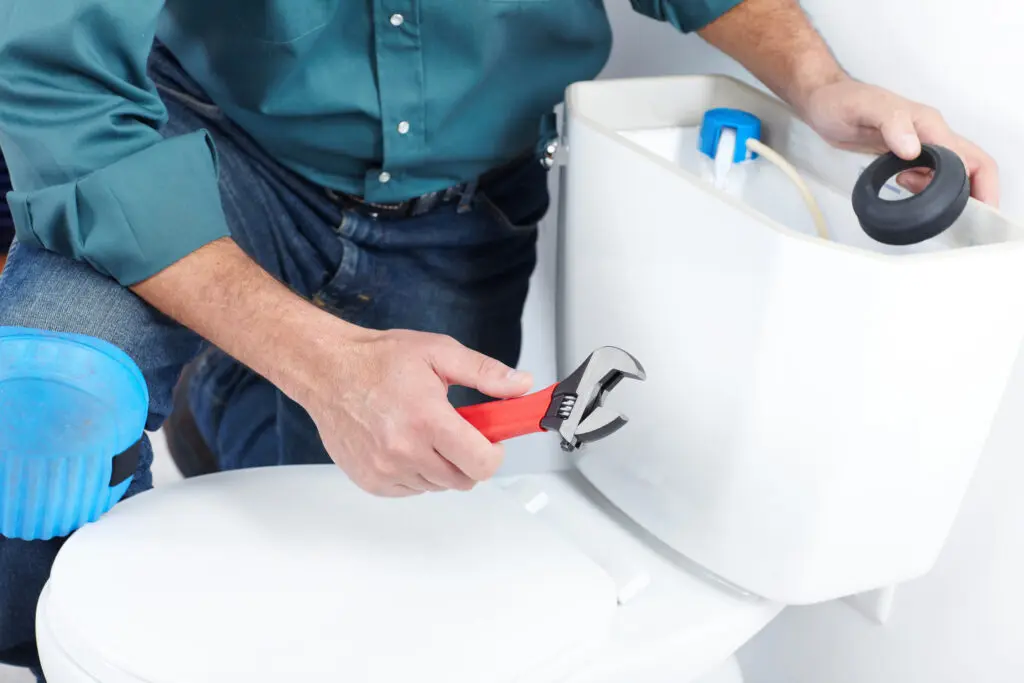
Unhook the chain connecting the flush lever to the flapper. You can now remove the broken handle from the toilet. Typically, this requires either a crescent or adjustable wrench.
Next, you need a replacement handle. When it comes to finding a replacement handle, you have a few options. You can take your old handle with you to the hardware store to try and find an equivalent. However, it’s even better if you know your toilet brand and model.
The exact placement of a toilet’s brand and model may vary, but you can usually find the model number on the inside of the tank around the water level marker.
After you have a replacement handle, work these steps in reverse to install the new one. Follow any instructions included with your replacement handle.
The easiest way to tell if you need to replace your toilet’s wax seal is if water is leaking out around the base of the toilet.
As with many other toilet repairs, start by shutting off the water supply by turning the valve behind the toilet. Next, flush the toilet to drain as much water as you possibly can. Any lingering water can be cleared out by hand or with a wet/dry vac.
Once this is done, disconnect the toilet from the water supply line and remove the caps covering the bolts on each side of the toilet’s base. Use a wrench to unscrew the nuts and washers on these bolts.
With the bolts removed and the water line disconnected, you can now lift the toilet from its position. If it’s been there for a while, removing it may require a little extra effort – you may need to gently rock it back and forth to jar it loose. It’s important that you pull the toilet straight up to remove it.
Once removed, place the toilet aside and remove the old wax ring. A putty knife can make this a faster, easier job.
With the old wax ring removed, clean the area and follow the included instructions to ensure the seal is positioned properly. In most cases, you can either attach the seal to the toilet or affix it to the floor.
After that, all you need to do is lower the toilet back in place, affix the bolts, reconnect the water supply, and turn the valve.
Be sure to test your toilet for leaks around the base after the new wax seal is installed.
There are multiple ways to unclog a toilet. These are the two most common.
This is the best way to unclog any toilet.
When your toilet’s clogged, the first thing you want to do is stop it from overflowing. Don’t flush it again if it didn’t flush right the first time; instead, remove the lid from the top of the toilet, carefully place it aside, and close the flapper. This will prevent more water from flowing into the bowl.
Another way to stop the water flow is to cut the water supply to the toilet using the shutoff valve. The shutoff valve is located on the water line coming from the wall or floor, connected to the back of the toilet. To turn off the water supply, twist the valve clockwise.
Once you’ve stopped water from flowing into the toilet, use a plunger to remove the clog. First, lay paper towels around the base of the toilet to prevent a mess. Next, slide the head of the plunger into the bowl and allow the plunger to fill with water.
Form a seal over the hole at the bottom of the bowl and push down on the plunger forcefully. Continue to push and pull on the plunger while maintaining the seal until the clog is removed.
For more stubborn clogs, you may need to use an auger, an easy to operate tool found at most hardware stores. Augers are commonly referred to as “plumbing snakes.”
Operating an auger can be straightforward, although actual use may depend on the type of auger you have. Regardless of type, you’re always going to insert the coiled end of the auger down the toilet bowl, turning the crank or handle as you navigate the drain.
Once inserted, it’s a matter of positioning the snake to catch the clog. Your goal is to catch and loosen the clog with the auger and (hopefully) clear the pipe. It may take a few attempts to get it, so don’t feel discouraged if it doesn’t clear on the first try.
When your toilet runs constantly on end, it’s not just distracting – it’s a waste of water and could impact your utility bills.
A running toilet is a common symptom for a toilet that won’t flush. These issues are often tied to an issue with the chain, flapper, and lever used to operate a toilet.
To fix a running toilet:
First, remove the lid from the top of your toilet and put it in a safe place nearby.
Next, check the flapper and make sure it has a proper seal over the hole it’s covering. If it’s not seated properly, make sure there’s enough slack on the chain to ensure it’s able to cover the gap while still lifting when you pull on the lever.
If you see any damage to the flapper, or if it looks overly worn, it may need to be replaced. Fortunately, this is a relatively easy DIY repair, and replacement flappers are inexpensive.
If there’s not an issue with the flapper, the lever or chain may be disconnected or broken. If they’re disconnected, simply reconnect them. In the case of a broken chain or lever, you’ll need a replacement.
Dealing with more than just a clogged toilet? Check out these five ways to unclog stubborn drains.
There are a lot of differing opinions on how long a toilet should last. Some sources say a toilet can last for decades, even as long as 50 years. Others suggest that toilets won’t hold up nearly as long, perhaps only as long as 10 to 15 years.
Ultimately, it comes down to how well you keep up with care and maintenance. There are too many variables to accurately predict how long a toilet will last.
It’s time to replace your toilet when you have continuous problems despite your best attempts to repair them. Another sign it’s time to replace your toilet is when you discover cracks in the toilet tank or the bowl itself.
While replacing a toilet may be something you can do on your own, should you not feel up to the task – especially after multiple attempts at repairing the toilet yourself – call a professional. A local plumber can help you determine whether you need a repair or a straight replacement.
If toilet troubleshooting feels overwhelming to you, save yourself the hassle and call a pro.
There’s no reason to feel ashamed. Some repairs, such as replacing the fitting that connects your toilet to the drain pipe in the floor (aka, the toilet flange) can be a more complex fix many find intimidating.
In short, when in doubt, turn to an expert. It can save you a ton of time and stress, especially if you have plumbing coverage through a home warranty.
There’s a lot more that can go wrong with a toilet than what we’ve covered here. While many fixes are an easy DIY, some homeowners feel more comfortable leaving this work to a professional.
Of course, even if you prefer an expert to take care of plumbing problems, it doesn’t mean you want to pay those prices. A home warranty can cover plumbing system problems, including toilet bowls, tanks, and flushing mechanisms.
Whether you’re a happy homeowner who plans to stay where you are as long as you can or someone planning to sell soon, a home warranty has plenty of benefits that are well worth the investment.
You can learn more about home appliance troubleshooting and maintenance guides to keep them in top shape. If you are interested in exploring home warranty plans and getting your free quote to find the best coverage for your needs, click on the link below.
Whether you’re keeping your house or selling one, see all the ways a home warranty can benefit you!

Don’t wait until it’s too late! Check out our current plans and get your free quote.
Household Tips
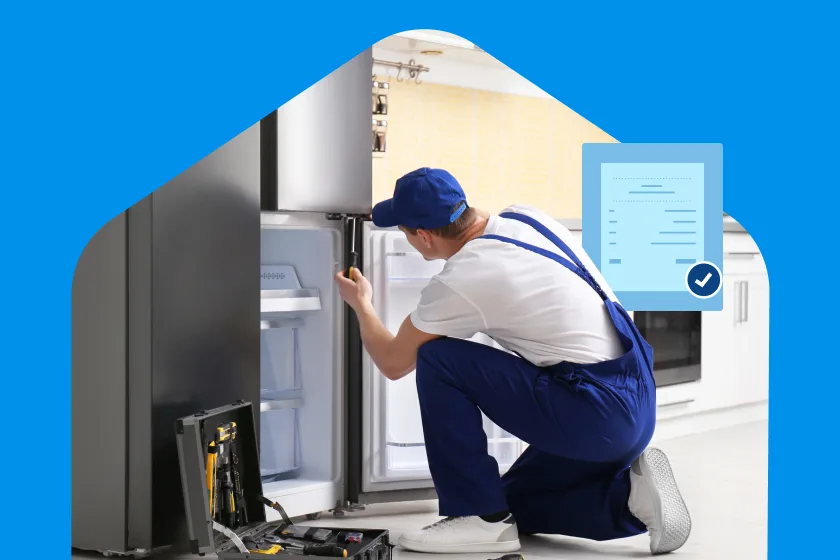
Imagine unloading your groceries only to realize your fridge isn’t cooling properly. The panic kicks in, and the first thing you wonder is: how much does it cost to repair..

Home Warranty
When One Small Breakdown Becomes a Big Expense You hear a strange noise coming from the laundry room. The washing machine that has worked fine for years suddenly stops. A..
Household Tips
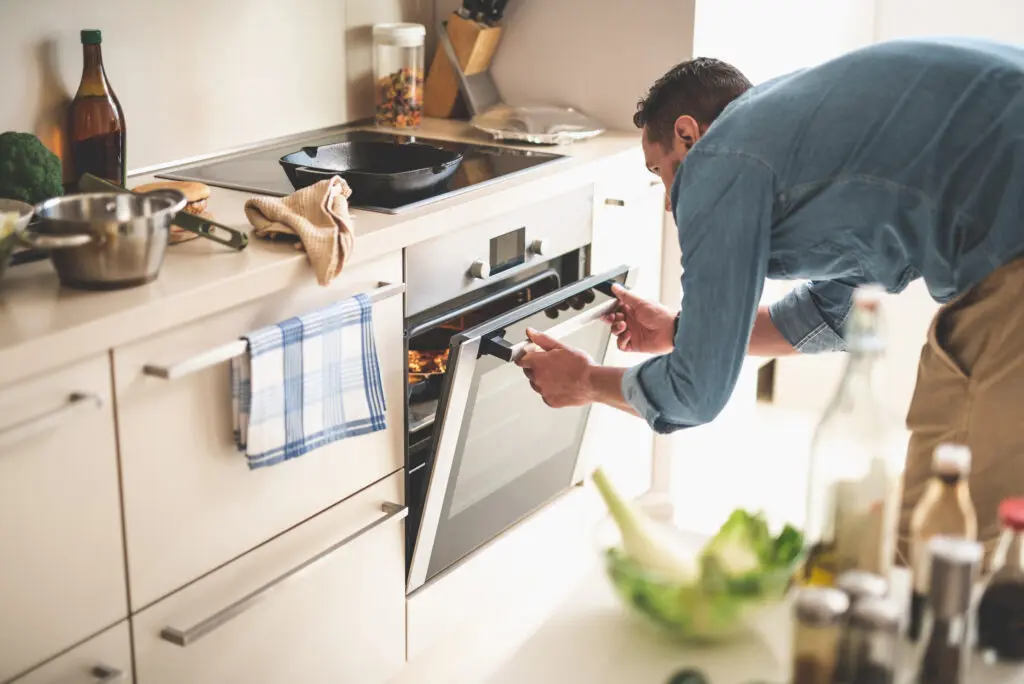
Got dinner plans? A home-cooked meal can quickly go off track if your oven suddenly stops working. Whether you're baking, roasting, or just heating leftovers, your oven is one of..