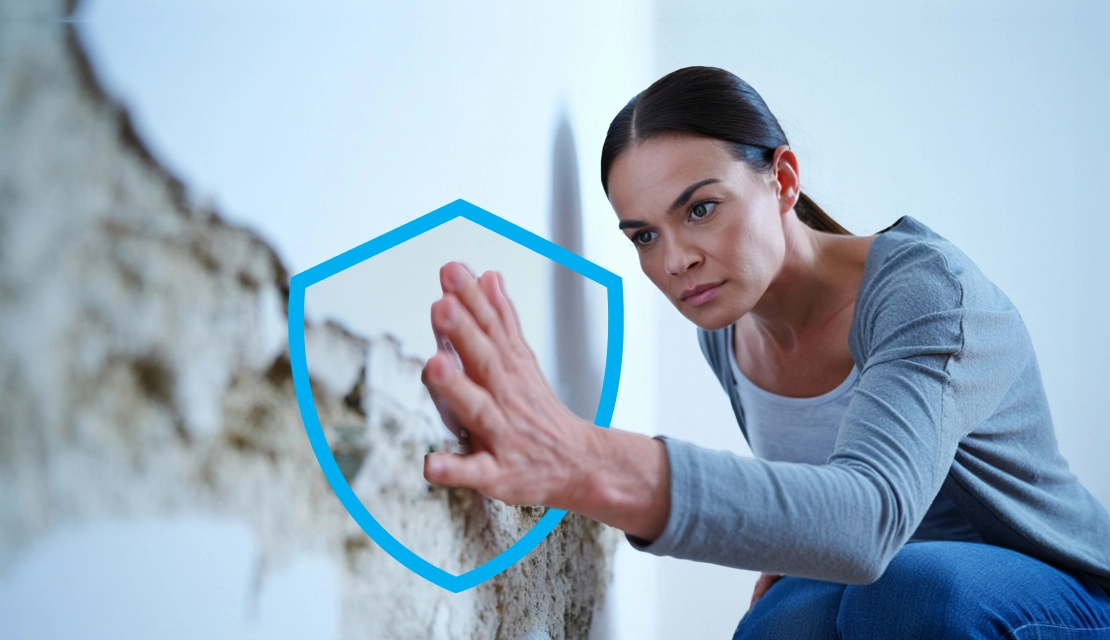
That mysterious water stain on your bedroom wall didn’t just show up overnight, but it sure made you stop and stare this morning. Now you are left wondering how to fix water-damaged drywall without making things worse. Don’t worry, you are definitely not the only one dealing with this kind of surprise.
Drywall can swell, crumble, or even grow mold if left untreated, and that’s the last thing you want as a homeowner. Acting quickly matters not just for appearance, but also to prevent mold and further damage from creeping in.
This comprehensive guide breaks down every step needed to restore your drywall without panic or confusion. By the time you finish reading this, you will know all the tricks and be ready to take action. Your walls will look flawless and as good as new.
Water damage doesn’t always hit you with an obvious sign. In many homes, it quietly builds up behind walls and ceilings until the evidence shows through. Keep an eye out for soft, swollen drywall, cracks in paint that weren’t there before, or wallpaper that suddenly starts bubbling or peeling away.
A lingering musty odor even after cleaning is another warning that moisture has been sitting behind the surface for a while. It is often a sign that moisture is trapped inside your walls. Over time, these hidden leaks can lead to brown stains that spread slowly, almost like coffee marks on paper.
The tricky part is that water often travels from the original source before showing itself, so the damage you see might not be where the leak actually is. Recognizing these early signs gives you the chance to fix things before the wall crumbles or mold becomes a problem.
Fixing water-damaged drywall isn’t as complicated as it looks, if you know what to expect. But here are a few things to keep in mind before getting started.
Tools
Essential Materials
Before you get into repairs, set up a drop cloth or tarp to catch falling debris, dust, and broken wall pieces. It makes cleanup faster and keeps nearby surfaces from getting messy.
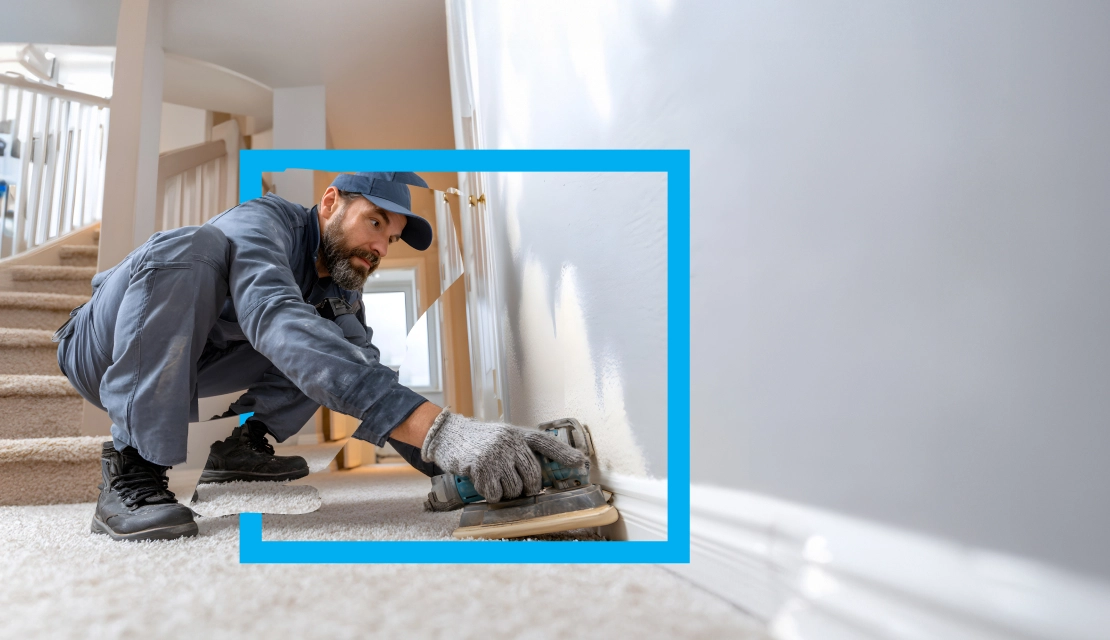
Check how bad the damage really is. If the wall feels soft, crumbles when touched, or sags from the ceiling, it is beyond saving and needs to go. Use the claw end of a hammer or a small wrecking bar to carefully remove it.
If only a section is stained or slightly damaged, cut around the problem area with a keyhole saw. Try to create a square or rectangular opening. This makes it much easier to fit in a replacement patch when you start working on how to fix water damaged drywall.
SAFETY ALERT – Don’t forget your safety goggles and dust mask while removing damaged drywall to avoid inhaling dust or guard your eyes against loose debris.
Once the compromised area is removed, focus on drying the surrounding area. For smaller jobs, a simple fan or dehumidifier will work. Larger projects may need a high-powered blower, which you can rent if needed. Keep the airflow going for about three to five days to be sure the wall cavity dries fully.
If air circulation seems difficult, consider making extra openings where needed. This will help the fan reach deeper sections of the wall.
Aim to get air flowing from both the top and bottom of the wall. Creating these access points makes sure that every inch of the wall dries properly and reduces the risk of mold or mildew growth later.
Measure the hole you have cut and prepare a drywall patch that is slightly bigger than the opening. For gaps that don’t line up with studs, attach a small piece of scrap lumber behind the hole as a support.
Once the support is secured with drywall screws, fit the patch into place. Trim the edges if needed to ensure a snug fit and fasten it to the lumber or studs with screws, about an inch from the edge.

Apply drywall tape around the seams, then spread a thin coat of joint compound over the tape using a putty knife. Let it dry, then repeat this step two to three times, sanding lightly between coats for a smooth finish.
HELPFUL TIP: Inserting the wallboard patch becomes much simpler when you tilt the material at a slight angle before sliding it into position.
Once the patched area is smooth and dust-free, apply a stain-blocking primer. This seals the surface and prevents old stains or discoloration from seeping through your fresh paint.
When the primer dries, grab your roller and apply the first coat of paint using light and overlapping strokes for even coverage. For edges, corners, or tighter spots, you can switch to a small brush to get a clean finish.
Once it’s dry, apply a second coat if needed to match the surrounding wall. This final touch almost completes your process of how to fix water damaged drywall and makes the repair disappear into the rest of the wall.
After all the hard work, a quick cleanup makes everything look professional. Start by vacuuming dust and debris, then remove your drop cloths with care.
Wash paintbrushes and roller covers until water runs clear. If possible, spin them dry or hang them so they keep their shape. Remove any painter’s tape while the paint is still fresh to avoid peeling. And just like that, you have successfully learned how to fix a wall after water damage like a pro.
DIY home repairs can handle minor wall issues, but some situations are simply beyond a homeowner’s toolkit. Severe water exposure or contaminated areas pose real risks, and knowing when to bring in a professional can save time, money, and headaches. Repair experts not only have the right tools but also the expertise to handle hazardous conditions safely.
Drywall water damage is something every homeowner dreads, but the good news is that it is manageable with the right plan. A storm, frozen pipe, or leaky appliance can wreak havoc on your walls. However, timely repairs not only restore the wall’s appearance but also safeguard your home from mold and further damage.
Don’t wait, take action quickly. Once you know how to fix water damaged drywall, you’ll find the process is easier than it looks. Use the right tools, and keep an eye out for recurring moisture problems to avoid repeat issues.
Drywall is made from gypsum pressed between layers of paper, and both the core and the paper are highly absorbent. When exposed to moisture for long periods, the water weakens the material. This causes it to soften, swell, and eventually disintegrate if not dried or repaired in time.
If the drywall feels soft, crumbles when touched, or shows extensive swelling and warping, it’s likely beyond repair. Stains and minor surface damage can often be fixed. But large-scale damage or mold growth over 10 square feet usually requires replacing the section or calling a professional.
No. You should never paint over wet or damaged drywall. It is important to dry the area completely, repair or replace damaged sections, apply a stain-blocking primer, and only then paint. Otherwise, stains will bleed through, and mold could develop underneath.
Soaked drywall can cause serious risks to your home and health. These include:
Understanding these risks highlights why learning how to fix drywall damaged by water is essential for every homeowner.
Disclaimer: The information in this article is intended to provide guidance on the proper maintenance and care of systems and appliances in the home. Not all the topics mentioned are covered by our home warranty plans. Please review your home warranty contract carefully to understand your coverage.
Our blogs and articles may link to third-party sites that offer products, services, coaches, consultants, and/or experts. Any such link is provided for reference only and not intended as an endorsement or statement that the information provided by the other party is accurate. We are not compensated for any products or services purchased from these third-party links.

Don’t wait until it’s too late! Check out our current plans and get your free quote.

Real Estate
Whether you’re a buyer, seller, or renter, dealing with the real estate market can be a stressful endeavor. That’s why you want a professional on your side. The right real..

Real Estate
You have locked in the price, circled a date, and told friends you are finally moving. The real estate closing should be a smooth final chapter. But then you see..

Household Tips
Boilers are among the most efficient methods of home heating, keeping your home reliably warm through winter months. There are a few ways you should check up on your boiler..