
You know that black gunk creeping along your shower edges? This is nothing but a worn-out caulk, and it is more than just an eyesore. Learning how to caulk a shower properly stops water from sneaking behind tiles and into walls. This simple skill saves you from costly water damage and keeps mold at bay.
Most homeowners put off recaulking because it seems tricky. But a cleaner bathroom is easy to achieve once you understand how simple the process actually is. With a bit of guidance and basic tools, you can seal your shower like a pro in just one afternoon.
Caulk often fails because the shower is a tough, wet space. Any small mistake during prep or application can weaken the seal. Once water slips behind the line, the sealant starts peeling, cracking, or growing dark spots. Some of the common reasons for failure are:
These structural issues can sometimes indicate larger plumbing or foundation concerns In states like Wyoming, where seasonal temperature shifts and ground movement are common, a comprehensive Wyoming home warranty plan often includes coverage for related plumbing components, offering peace of mind beyond just cosmetic fixes.
If you are wondering when the best time or season is to caulk a shower, the general rule is every one to two years. But you should definitely redo it sooner if you notice cracks, peeling, gaps, or mold because these signs show moisture is slipping in.
Even if everything still looks okay, adding fresh caulk every five years keeps the seal strong and helps prevent water damage.
So, here are some signs that indicate it’s time to re-caulk:
Before you start working on your shower, gather everything you’ll need in one spot.
If you’re learning how to do caulking in a shower, the process becomes much easier when you follow it in clear steps. Each stage works together to create a clean, long-lasting seal that keeps moisture out.
Before you begin learning how to caulk a shower, take a few minutes to prep the area. A clean surface helps the new sealant bond better. Remove soaps, grime, and any damp spots so you start with a fresh base. Start by cutting and peeling away the old caulk so the new seal can adhere properly.
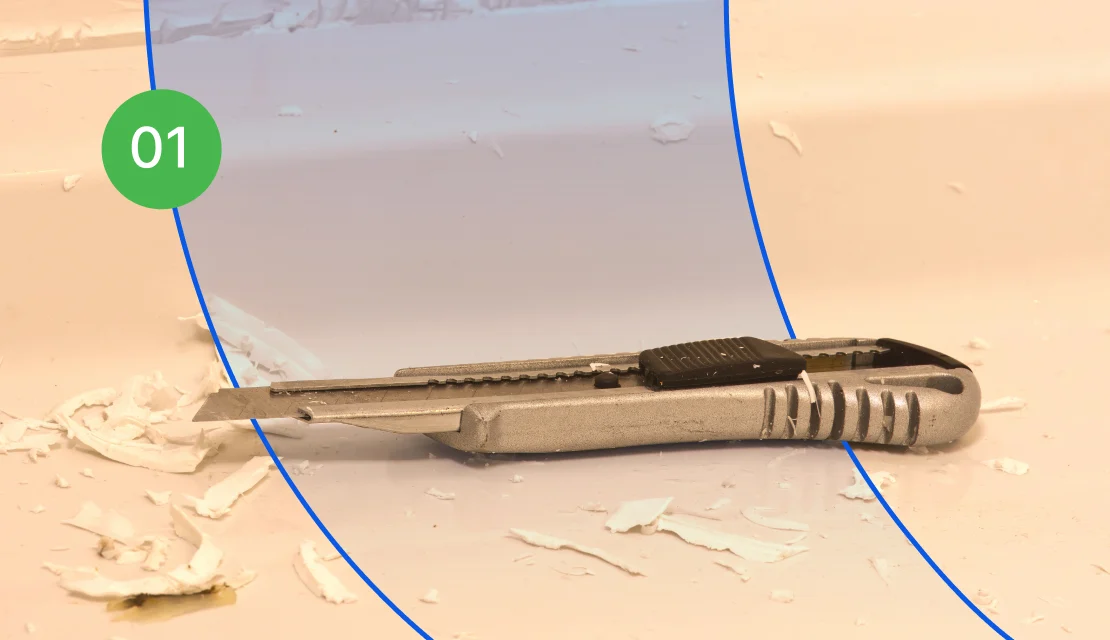
Use a utility knife or oscillating tool to slice through the filler along the wall edges and the shower floor. Work slowly to avoid scratching the surface. Once the main strips are removed, loosen whatever remains.
Apply caulk remover and let it soften the leftover material. Then scrape away all residue using a razor scraper. Finish by wiping the area clean with a rag or paper towel so the surface is clear and ready for the next step.
Important Safety Tip: Handle the utility knife carefully to avoid cuts. Keep rubbing alcohol away from heat and use gloves for safe handling.
With the old caulk removed, clear out any loose grout where the walls meet the tub or shower floor. Treat mold in this gap using a mold-killing cleaner and scrub thoroughly to lift any buildup.
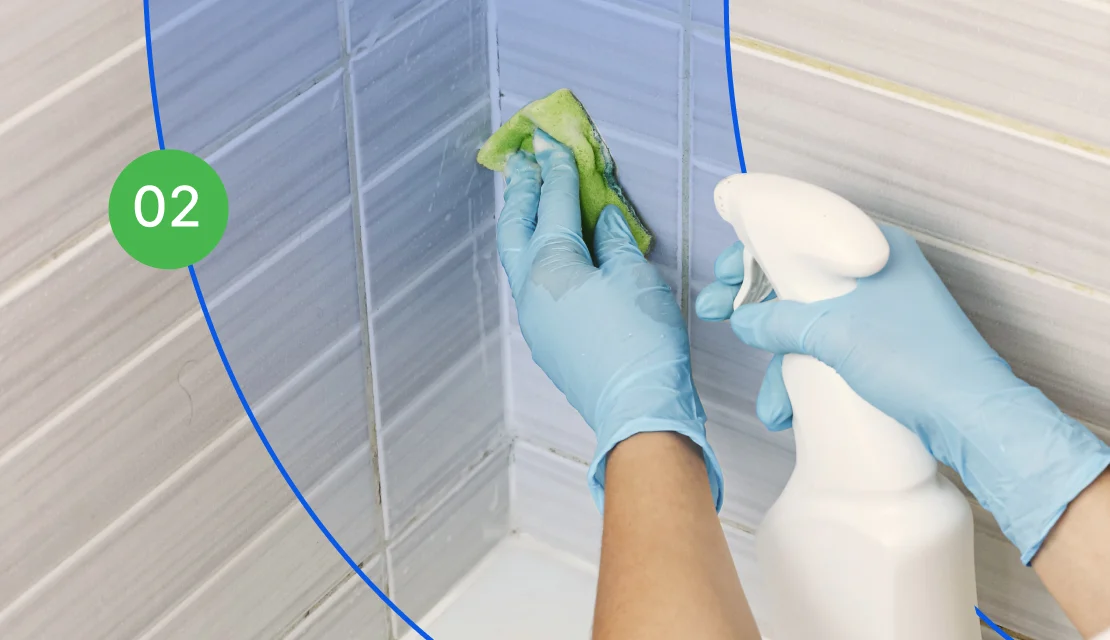
Rinse off the cleaner and allow the area to dry completely. If needed, use a hair dryer to speed up the drying process before moving to the next step.
Begin by masking the wall corners, using the widest gap between the wall and tub or shower base as your guide for tape spacing. This helps you create clean, even lines. Place painter’s tape along the walls just above the tub or shower floor. Then add a matching strip on the tub or shower base to define the caulking path.
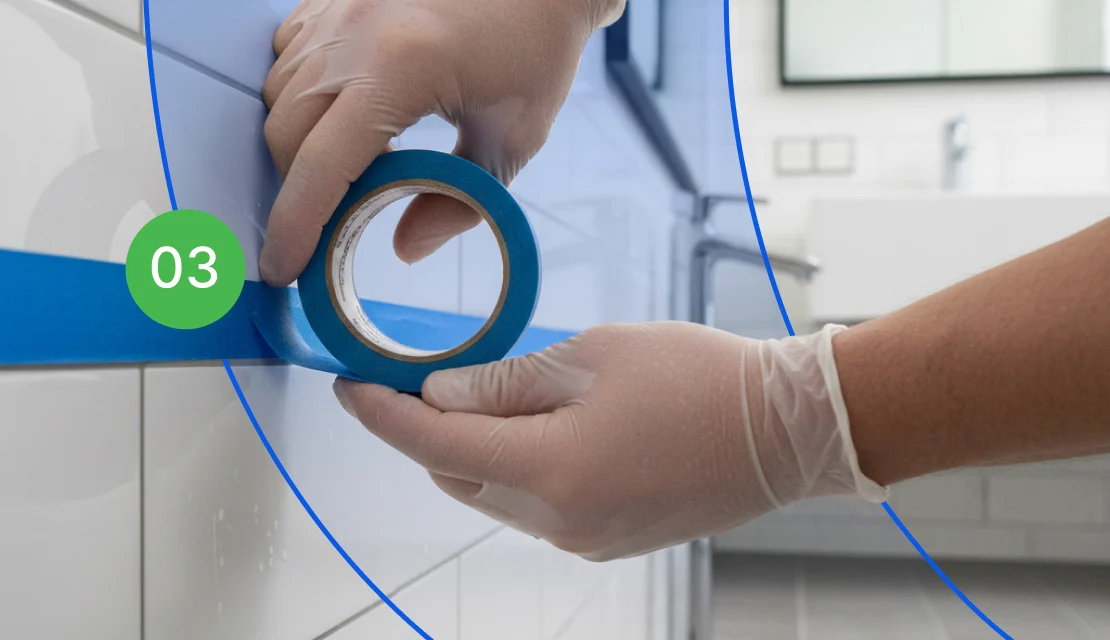
Helpful Tip: Painter’s tape uses a light adhesive, so press it firmly to keep it in place. It will still peel off cleanly once you’re done.
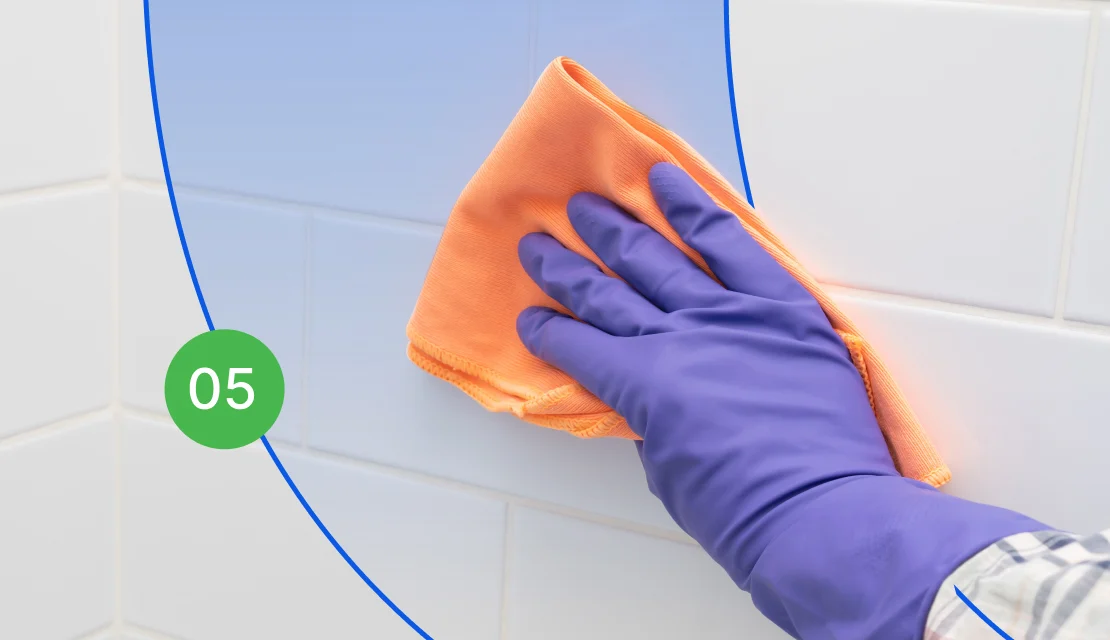
Now that your shower walls and floor are clean, dry, and taped, it’s time to lay down the seal that keeps water out for good.
Take your time with smoothing; a clean, tight bead ensures the seal stays strong for years. This method works as the best way to caulk a shower.
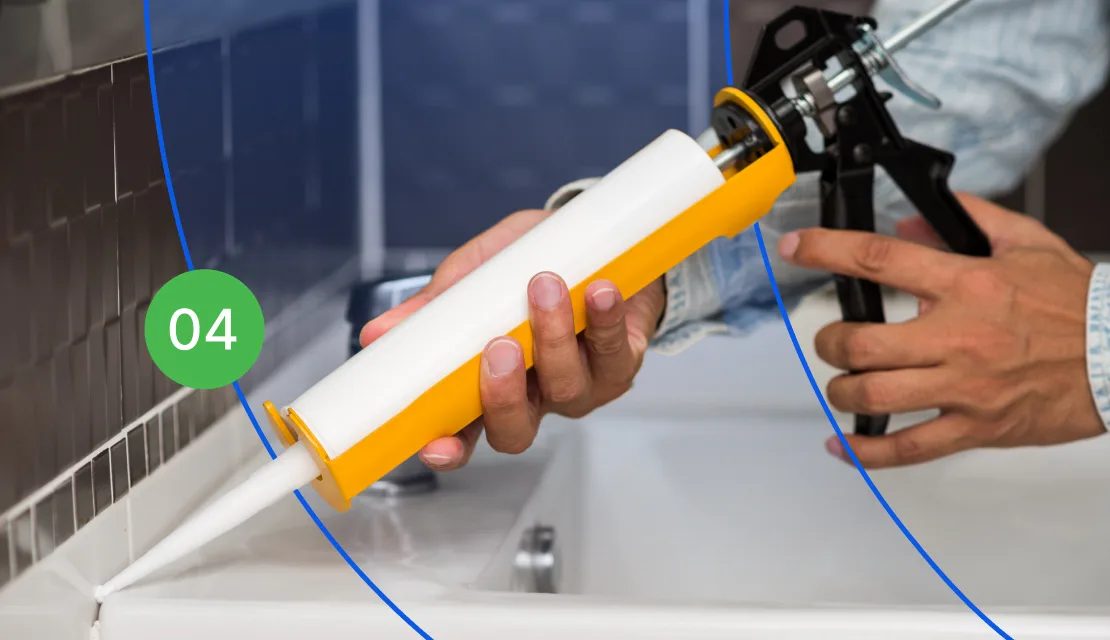
Safety measure to follow in this step: Keep your hands protected while shaping the bead. Wear gloves to help prevent irritation and make cleanup much simpler.
After finishing the caulk line, give it a moment to set before pulling off the painter’s tape. Start at the corners and peel slowly to protect the fresh bead. If you spot any extra filler along the edge, wipe it gently with a damp cloth for a smoother and cleaner look.
Let the sealant dry fully as recommended on the packaging. Once cured, your shower is ready for regular use again.
And here comes the most important question you’ll have after finishing the caulking process. Fresh caulk needs time to settle and form a proper seal, so rushing this step can undo all your hard work.
Most caulk becomes dry to the touch within a few hours, but full curing can take 24 hours or more. So, keep the bathroom ventilated, and always check the manufacturer’s recommended curing period on the tube. Your bathroom exhaust fan can help dry the area faster. You need to avoid using the shower until the caulk has fully cured, as early moisture can trigger mold, mildew, or weak adhesion again.
Learning how to caulk a shower keeps your bathroom safe from leaks and mold. Little steps like this keep your home in good shape and prevent bigger headaches later.
Also, with Select Home Warranty, you can safeguard your essential home systems and appliances from expensive repair shocks. Focus on everyday upkeep while our protection plan adds another layer of security for your home.
Not sure which plan fits your home best? Explore our home warranty plans and get coverage for the systems and appliances that matter most.
Never caulk over old caulk. The new layer won’t bond properly and will fail quickly. You’re wasting materials and effort. Always remove everything to clean surfaces first.
Silicone handles water exposure better and stays flexible longer, while acrylic filler is paintable but breaks down faster in wet areas. For showers, it is always better to choose 100% silicone with mold inhibitors built in.
Repeated cracking usually means movement in the joint. Your tub might flex when filled, or your tiles could be shifting slightly. Use a more flexible caulk formula rated for high-movement areas.
Choose caulk with built-in mildewcide. Squeeze excess water off surfaces after each shower. Run your bathroom fan for 20-30 minutes after bathing. Good ventilation makes the biggest difference.
Disclaimer: The information in this article is intended to provide guidance on the proper maintenance and care of systems and appliances in the home. Not all the topics mentioned are covered by our home warranty plans. Please review your home warranty contract carefully to understand your coverage.
Our blogs and articles may link to third-party sites that offer products, services, coaches, consultants, and/or experts. Any such link is provided for reference only and not intended as an endorsement or statement that the information provided by the other party is accurate. We are not compensated for any products or services purchased from these third-party links.

Don’t wait until it’s too late! Check out our current plans and get your free quote.
Household Tips
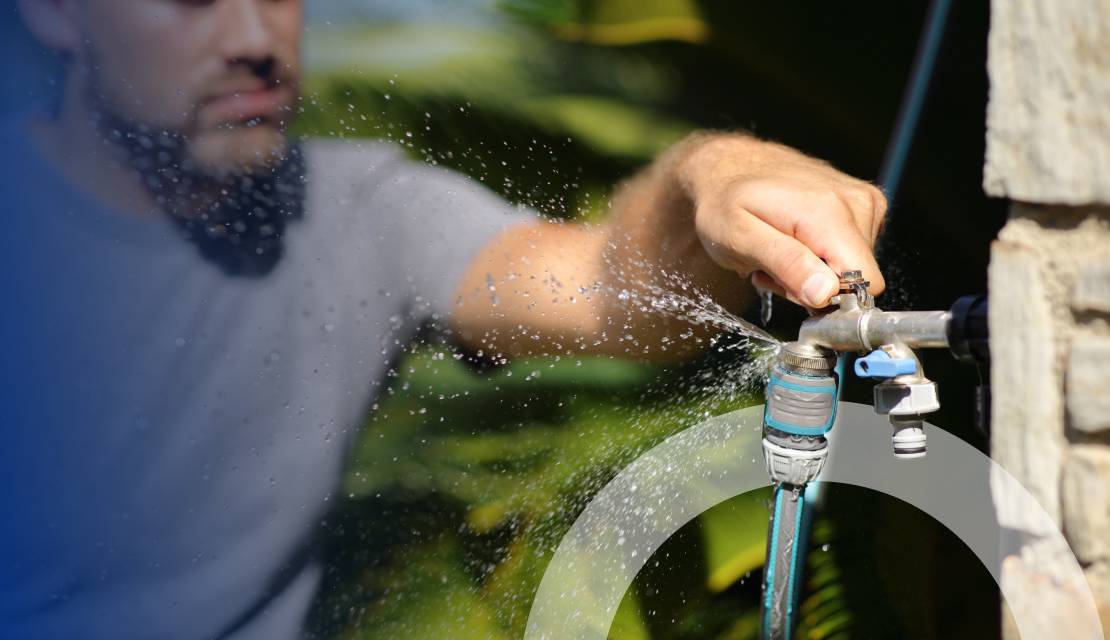
Key Takeaways: What a leaky hose bib indicates: A dripping outdoor faucet usually points to worn washers, loose fittings, or internal seal damage. Common causes behind the leak: Issues like..
Household Tips
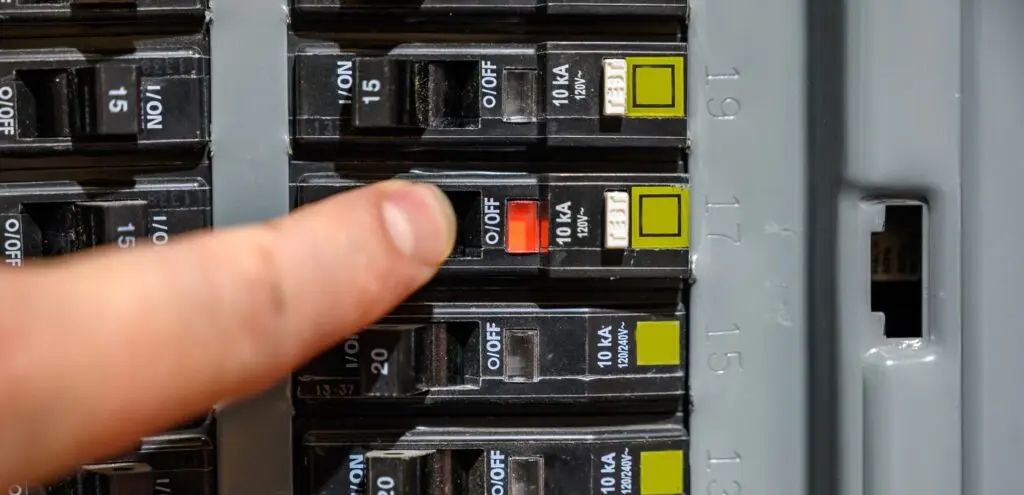
If you find your circuit breaker trips often, you’re not alone. Older homes aren’t built to handle families that use many electrical devices plugged in at once. This issue may..
Home Warranty
Have you ever had a situation when your HVAC system failed when you needed it most - in the middle of a scorching summer or freezing winter? It’s a nightmare..