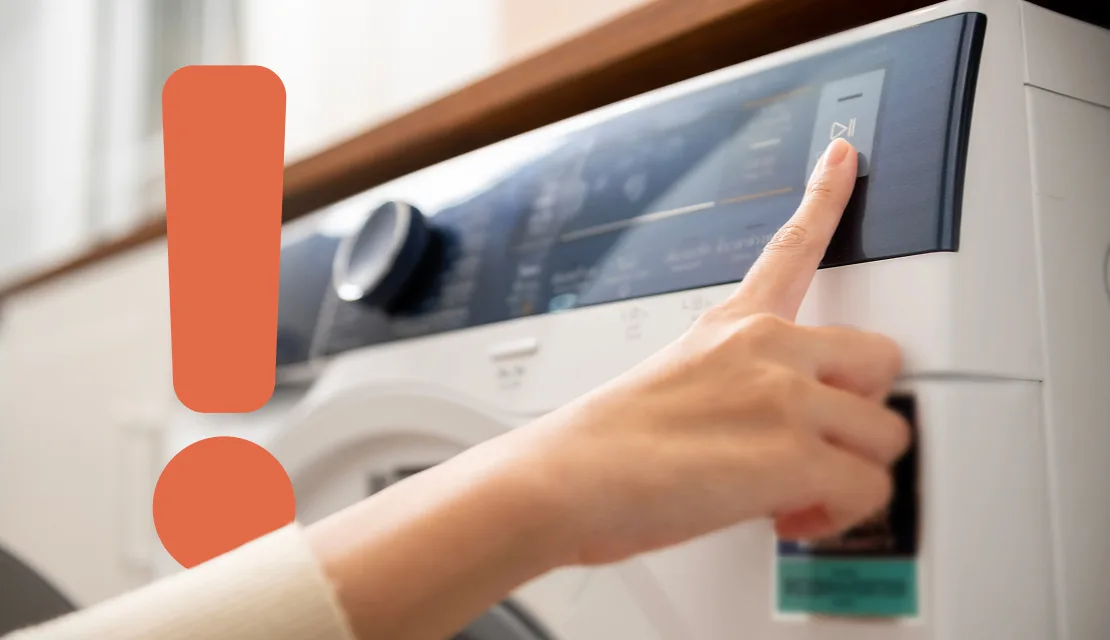
Laundry day gets annoying fast when the dryer won’t behave. If your dryer timer not working the way it should, cycles may stall, run too long, or stop at random. Suddenly, you’re left checking clothes mid-cycle and restarting loads just to get them dry. And when unexpected repair costs enter the picture, the frustration doubles. This is where having a reliable home warranty can provide you with some relief. It helps cover eligible appliance breakdowns caused by everyday wear and tear, so repair costs don’t disrupt your budget.
The timers play a bigger role than most homeowners realize. They control cycle length, help prevent overdrying, and keep energy use in check. When the time controller slips up, everything feels off. The cause could be wear and tear, a power issue, or damaged internal components.
This blog helps you figure it out step by step. We’ll explain how the timers of clothes dryers work, how to recognize common failure signs, and possible fixes. So, without any further delay, let’s begin!
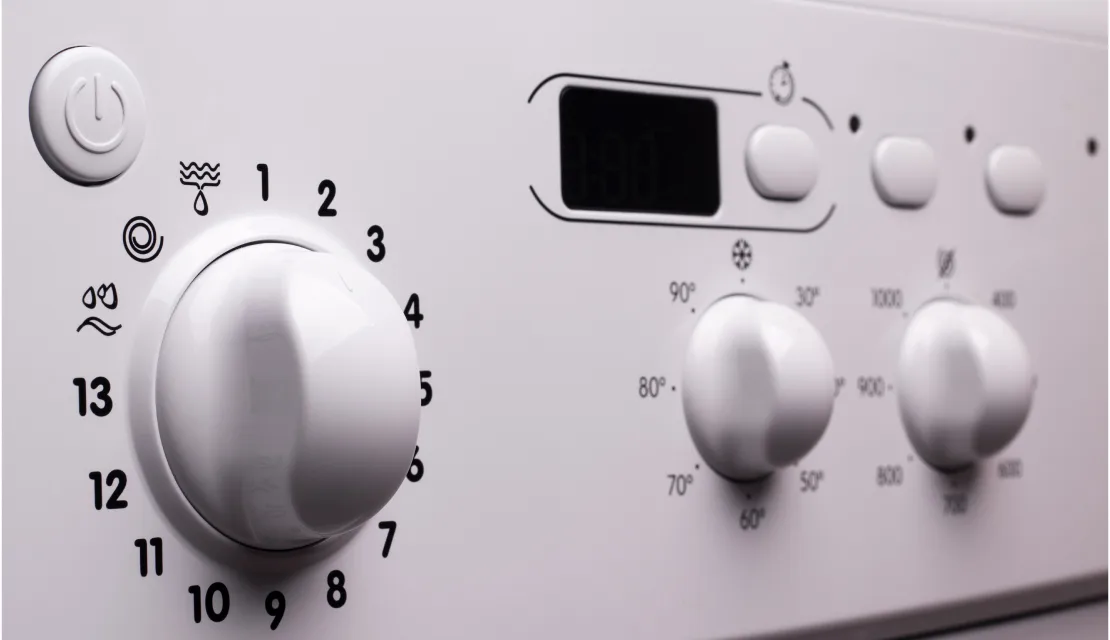
The timer is the electronic or mechanical part of your drying machine that controls how long each drying cycle runs. It sends signals to the motor and heating element, telling them when to start, stop, or move to the next stage. As the timer advances, it helps regulate heat and prevents clothes from drying longer than needed. When it fails, the machine may stop early, run too long, or not start at all.
The Timer Location:
You’ll usually find the timer inside the control console. It sits directly behind the cycle selector knob or display and is connected to several wires. Accessing it often requires removing the top or front control panel.
Spotting a faulty timer isn’t always obvious at first. But there are clear warning signs that point to a timer problem rather than other dryer issues.
Signs your clothes dryer timer is not working:

Once the signs point to the timer, the next step is identifying the exact problem. Below are some issues homeowners see most often and ways to resolve them.
Your timer motor drives the dial forward as your drying machine completes each cycle phase. When this component breaks, the dial simply won’t move. The equipment might keep running, or you’ll find yourself manually turning the knob to get through cycles. Either way, it’s a sign the motor has stopped doing its job. If left unchecked, this can lead to excessive energy use and potential overheating. ENERGY STAR reports that nearly 80% of American households use a clothes dryer. Broad adoption of ENERGY STAR-certified models could help consumers save over $1.5 billion each year on energy bills.
Energy waste from malfunctioning dryers becomes especially costly in states with high electricity rates, such as Rhode Island. Homeowners, therefore, protect both their appliances and energy budgets with comprehensive coverage with an affordable Rhode Island home warranty.
How to test and repair a broken motor:
Unplug your dryer completely. For gas models, shut off the gas supply as well.
The cycling thermostat controls the temperature inside your dryer drum and signals the timer to advance during Auto Dry cycles. It toggles the heating element on and off to maintain the right temperature level. When functioning correctly, it heats the drum, then activates the motor as the temperature drops, creating a continuous cycle. When the thermostat fails, the dryer timer not working is often one of the first signs. The machine might run too hot, stay too cool, or the timer won’t progress at all.
How to test and fix a broken cycling thermostat:
If your clothes dryer or washer shows issues beyond timer problems, you might be unsure whether a repair makes sense. In that case, take a look at our blog, “4 Signs It’s Time To Replace Your Washer And Dryer,” to help you decide when replacement may be the better option.
While a heating element might not seem directly connected to timer issues, it can actually cause them to malfunction or stop advancing. When this element fails, your dryer can’t generate the heat needed to dry clothes properly. This affects the cycling thermostat’s ability to send proper signals to the timer. Sometimes people mistake this for a timer problem when it’s actually the heating element at fault.
How to diagnose and replace it:
Today it’s the timer. Tomorrow, it could be the motor, thermostat, or heating element requiring a much more expensive repair. A home warranty coverage can help when other dryer components fail, and repair costs start adding up.
According to HomeGuide’s dryer repair cost data, replacing a dryer timer costs $120–$300 on average, including parts and labor.
The exact amount depends on your dryer’s make and model, the cost of replacement parts, and whether you hire a technician or complete the repair yourself.
| Dryer Timer Repair Service | Typical Cost |
|---|---|
| Timer Diagnosis | $50–$100 |
| Timer Repair | $100–$200 |
| Timer Replacement Part | $30–$80 |
| Timer Replacement (Parts + Labor) | $150–$300 |
If the technician discovers additional issues, such as damaged wiring or failed control components, the total repair bill may be higher. Home warranty appliance coverage can help reduce out-of-pocket costs when eligible dryer repairs are covered.
Marcus, a homeowner in Columbus, Ohio, noticed his dryer had been running longer than usual for about two weeks. Loads that typically took 45 minutes were taking over 90 minutes to dry. He figured the machine was just getting older.
One evening, he checked and found the timer knob hadn’t moved after 40 minutes of running. The drum was still turning, and heat was coming through, but the dial was completely frozen.
Since Marcus had signed up for a Select Home Warranty plan three months earlier, primarily to cover his appliances, he reported the issue to us. When he submitted a claim, the technician also confirmed his dryer timer is not functioning properly. That repair was covered under his plan.
“I would have paid $300 or more out of pocket if I hadn’t had the coverage,” he said. He was relieved that the repair was covered. The experience also reinforced why he purchased appliance coverage in the first place. A problem that seemed minor at first could have easily turned into an unexpected repair bill.
You can handle basic repairs of the electric dryer or its timers, like inspecting the knob or confirming cycle settings. Simple visual checks often reveal loose parts or worn controls. If you reach steps involving wiring, resistance testing, or internal components, caution matters. Electrical parts inside dryers can still hold a charge even when unplugged.
If the clothes dryer timer not working after basic troubleshooting, it’s a sign the issue runs deeper. At that point, calling a professional is the safer move. A trained technician can test components accurately and confirm whether replacement is needed.

Searching for a reliable dryer technician near me connects you with experts who handle timers daily. They also check related parts that affect cycle timing. Professional service helps prevent extended run times, damp laundry, and unnecessary energy use.
Dryer timer failures often result from routine usage over time. Internal parts wear out after years of regular cycles. Replacing timer motors, thermostats, or heating elements can be expensive. Labor charges also increase total repair costs. A home warranty plan may cover eligible dryer repairs due to normal wear and tear. Instead of paying full repair costs, you submit a service request. A licensed technician diagnoses the issue and completes covered repairs. This helps manage appliance repair expenses more predictably.
A dryer is one of those appliances you rely on without thinking, until it stops working properly. When timer issues start affecting drying cycles, laundry quickly becomes a hassle. Problems like delayed shutoff or incomplete drying often point to parts that need attention.
Rather than stressing over repair costs or scrambling for last-minute service, choosing the best home warranty company can offer added support. It helps pay for repairs of major household appliances, including your clothes dryer, when breakdowns happen due to normal wear and tear. It’s a practical way to manage unexpected repair issues and keep everyday routines from being disrupted.
Dryer repairs are among the most claimed appliance repairs under home warranty plans. If yours is acting up, a quick call is all it takes to get a technician dispatched to your home.
Fixing or replacing a timer typically costs between $150 and $300, including parts and labor. The final cost depends on the dryer model and how accessible the timer is. A faulty timer often causes cycles to run longer than expected or never shut off.
The timers in the drying machine commonly fail due to dust buildup, corrosion, or worn internal gears. Over time, these issues prevent it from moving smoothly through cycles. Mechanical wear is especially common in older dryers.
Replacing a dryer timer not working is usually a moderate DIY task for someone comfortable with basic tools. The process involves disconnecting power, accessing the control panel, and carefully reconnecting wires. Some models require extra disassembly, which can increase difficulty.
Yes. A timer that won’t advance keeps the dryer running past its intended cycle. This raises drum temperatures and puts extra strain on the heating element.
Test both components with a multimeter. A timer motor should read between 2,000 and 3,000 ohms. A cycling thermostat should read zero ohms. A frozen timer dial often points to the timer motor, while overheating may indicate a faulty thermostat.
Many home warranty plans cover dryer timer repairs caused by normal wear and tear. Coverage often includes eligible parts and labor costs. Check your service agreement to confirm coverage details and exclusions.
A failed timer motor is the most common cause. The dryer may continue running and heating normally, but the timer cannot move through the cycle. Testing the timer motor can confirm whether replacement is needed.
Disclaimer: The information in this article is intended to provide guidance on the proper maintenance and care of systems and appliances in the home. Not all the topics mentioned are covered by our home warranty plans. Please review your home warranty contract carefully to understand your coverage.
Our blogs and articles may link to third-party sites that offer products, services, coaches, consultants, and/or experts. Any such link is provided for reference only and not intended as an endorsement or statement that the information provided by the other party is accurate. We are not compensated for any products or services purchased from these third-party links.

Don’t wait until it’s too late! Check out our current plans and get your free quote.
Household Tips
If you find your circuit breaker trips often, you’re not alone. Older homes aren’t built to handle families that use many electrical devices plugged in at once. This issue may..

Home Warranty
Florida keeps calling your name, doesn't it? The idea of ditching winter gear for flip-flops year-round sounds pretty good. But hold up! There are important things to know before moving..

Real Estate
You’ve done your research, you’ve saved up, and now you’re finally able to consider whether you’re ready to buy a home. Since most people believe they’ll eventually become a homeowner,..