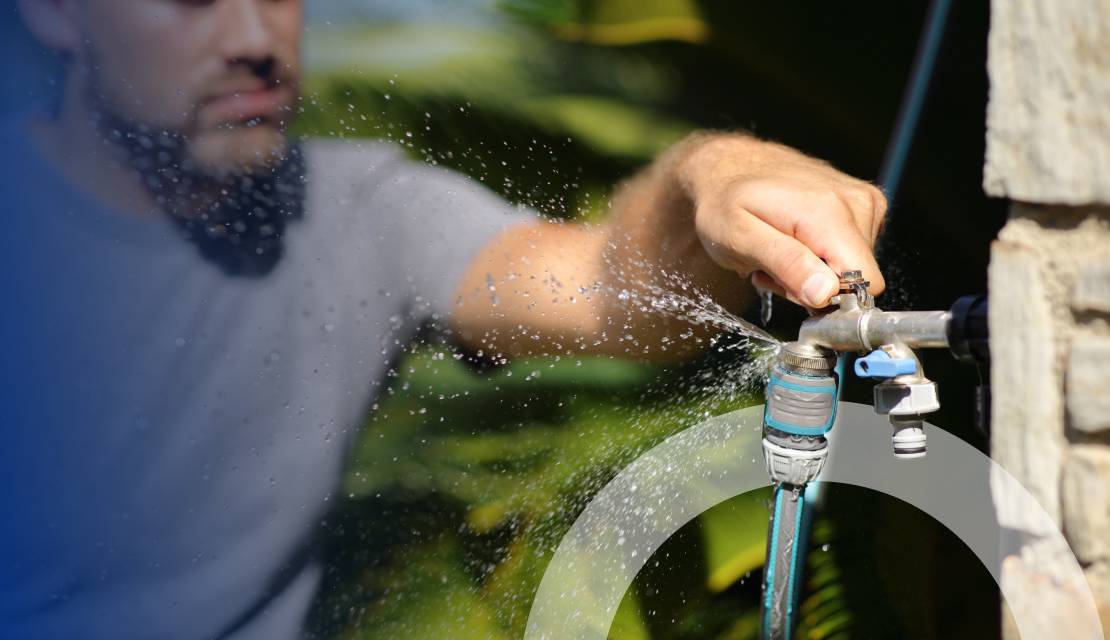
Notice a steady drip from your outdoor faucet every time you turn it off? You are probably dealing with a common problem many homeowners face. Knowing how to fix a leaky hose bib can help you tackle this common issue before it becomes a costly problem.
But first, what is a hose bib?
It’s the outdoor faucet where you connect your garden hose, the one you use for watering your garden, running a sprinkler, or washing your car. It connects your outdoor water access directly to your home’s main water line, which is why many people simply call it a tap.
And when it starts leaking, it’s usually a sign of worn-out or loose fittings. In this guide, we’ll show you the easiest way to fix a leaky hose bib at home. So, you’ll be able to stop that constant drip without needing to call a plumber.
A leaky outdoor faucet doesn’t always make itself obvious right away. Here’s how you can spot one.
If any of these sound familiar, it’s time to inspect your outdoor faucet for leaks and fix the issue promptly.
Leaks in a faucet don’t happen by chance. They are usually caused by wear, temperature changes, or loose fittings. Understanding what’s behind the drip is the first step toward knowing how to fix a leaky hose bib faucet effectively.
The U.S. Environmental Protection Agency (EPA) reports that household leaks waste a significant amount of water each year. On average, more than 10,000 gallons of water are wasted in U.S. homes annually. That’s roughly what you’d use to wash nearly 270 loads of laundry.
So, even small leaks, like a dripping faucet, can contribute to that waste. But before you jump into fixing your outdoor faucet, make sure you have everything ready. Having all the tools nearby makes the repair process quick and frustration-free.
So, which tools are needed for a quick hose bib repair? Here’s a list:
Now, let’s get started.
First things first! You don’t want water gushing out mid-repair. Head inside your home and look for the small shutoff valve connected to your outdoor faucet, usually near the basement or utility area. Turn it clockwise until it’s fully closed.
Can’t find the valve? No worries. Just turn off the main water supply to play it safe before moving ahead.
Next, grab your screwdriver and gently remove the screw at the top of the handle. Once it’s loose, give the handle a little wiggle; it may take a bit of effort to pull it free. Set both the screw and handle aside in a safe spot (a small bowl works great) so nothing rolls away while you work.
Now it’s time to get that packing nut off. Use your adjustable wrench or pliers to carefully loosen the nut just beneath the handle. It might be a little snug at first, so go slow and steady, and no need to force it. Keeping your grip firm but gentle will help you avoid scratching the faucet body.
Once the nut is off, twist and pull out the valve stem from the faucet. Some stems may unscrew in the opposite direction, so check the design before forcing it. This is the piece that controls water flow and often hides the washer.
If it feels stuck, wiggle it back and forth a few times instead of forcing it. Patience pays off here!
Look at the rubber washer at the end of the valve stem, as that’s often the cause of your leak. Inspect it properly, and if it looks cracked, stiff, or flattened, replace it with a new one.
Unscrew the little brass screw holding it, swap in a washer that matches in size, and screw it back on snugly. This small part makes a big difference in stopping drips.
The next step you need to follow is to check the area just under the packing nut for old packing string. If it’s frayed or worn, unwrap it completely. Replace it with a few wraps of fresh graphite or Teflon packing string, wrapping clockwise for a secure fit.
Doing this would keep water from sneaking out around the handle and help your faucet feel smoother when turning it on and off.
You’re almost done! Carefully put everything back in order, starting with the valve stem, then the packing nut, and finally the handle. Don’t forget to tighten the nut gently (too much pressure can stiffen the handle).
Now, turn your water supply back on and give the faucet a test run. If the handle turns easily and the spout stays dry, congratulations! You just fixed your leaky hose bib perfectly!
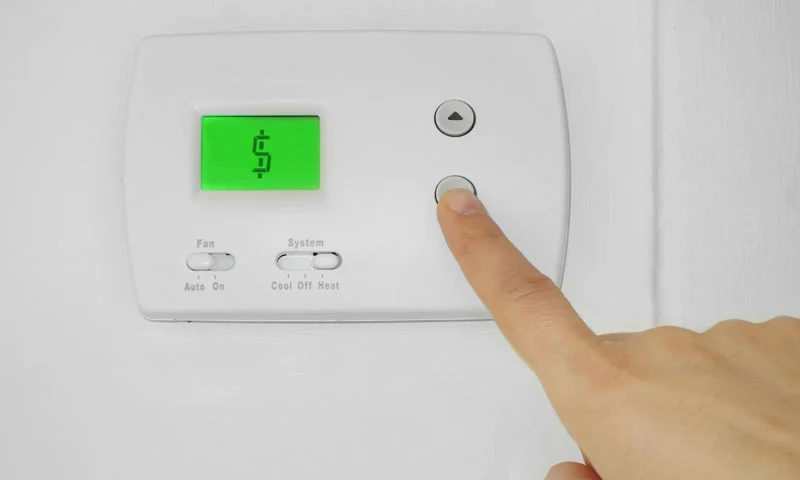
Repairing a leaking spigot can cost between $10 and $50 if you’re tackling a simple fix like swapping out a washer or tightening a packing nut. But if the leak runs deeper or you need a full spigot replacement, costs can climb quickly. Expect to pay around $150–$500 once you factor in parts and professional labor.
The total price depends on the type of faucet, the severity of the leak, and whether you handle it yourself or hire a plumber. Labor rates in states like New York tend to be higher, with plumbers often charging $150–$200 per hour, even for minor repairs. This is why homeowners choose home warranty coverage in New York to offset the high costs of plumbing and outdoor faucet repairs.
If you’ve already tried fixing a leaking hose bib on your own and it keeps leaking, that’s a red flag. It could mean there’s a more serious underlying issue at play. The issue could be deeper, hidden behind your walls or even within the underground plumbing lines.
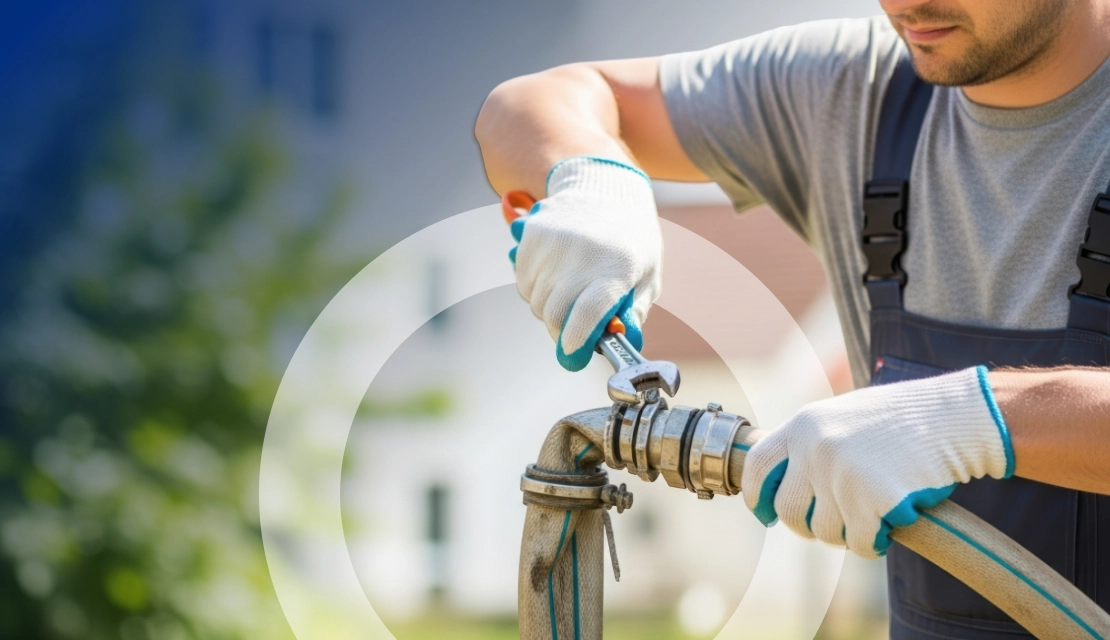
Though most leaky spigots can be handled with a bit of knowledge and effort on DIY home repairs. But there are times when calling a plumber is the smarter move. Here are a few cases when it’s best to call a professional plumber instead of attempting another DIY repair:
Regular plumbing maintenance goes a long way in preventing future leaks and extending the life of your outdoor faucet.
Here are a few easy maintenance steps to keep your outdoor faucet in great shape:
By keeping up with these simple steps, you can keep your outdoor faucet working smoothly year after year. Also, to understand how a home warranty can help you deal with sudden plumbing issues, read our guide on “Does A Home Warranty Cover Plumbing Systems & Leaks?”
You should consider replacing your hose bib if it’s showing visible cracks, heavy corrosion, or worn-out threads that prevent a proper seal. If repeated repairs fail or parts are damaged, replacement is more practical, especially if it’s old, freeze-damaged, or has a stiff or loose handle.
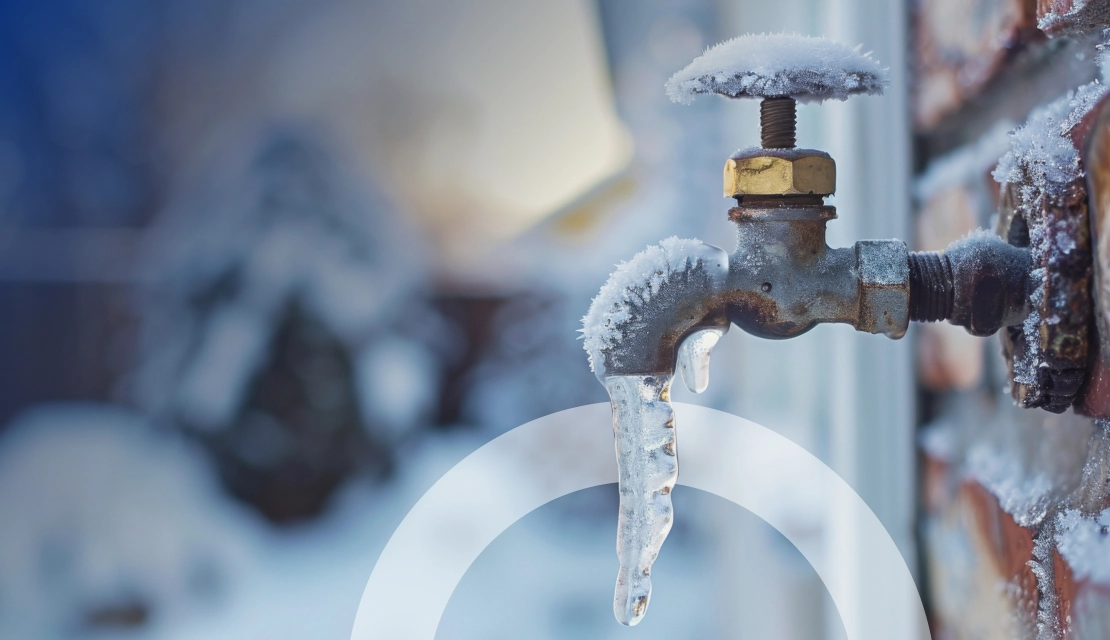
Ignoring a leaking outdoor faucet can lead to more than just wasted water. It can cause rising utility bills, wood rot, or even foundation damage over time. In colder months, that small drip can freeze and burst the pipe, leading to costly interior repairs.
Fixing a leaking spigot right away helps prevent costly water damage, mold growth, and foundation issues while keeping your water bills under control. Addressing the issue early also prevents leaks from worsening or freezing in cold weather, which could lead to burst pipes and major plumbing problems.
Disclaimer: The information in this article is intended to provide guidance on the proper maintenance and care of systems and appliances in the home. Not all the topics mentioned are covered by our home warranty plans. Please review your home warranty contract carefully to understand your coverage.
Our blogs and articles may link to third-party sites that offer products, services, coaches, consultants, and/or experts. Any such link is provided for reference only and not intended as an endorsement or statement that the information provided by the other party is accurate. We are not compensated for any products or services purchased from these third-party links.

Don’t wait until it’s too late! Check out our current plans and get your free quote.

Household Tips
Everyone has their happy place. For some, that place is relaxing on the couch, while for others it’s relaxing in the hot tub. Your jetted tub or spa requires routine..

Household Tips
Your stove is the heart of your kitchen, helping you prepare everything from daily meals to festive feasts. But have you ever paused to wonder how long does a stove..
Household Tips
In the midst of cold weather, we often worry about keeping our homes warm. Depending on how well you take care of it, the average life expectancy of a home..