Your shower just betrayed you again. You are ready for a relaxing shower after a long day, but the water keeps flipping between too cold and too hot. Frustrating, right? Learning how to replace a shower valve might be exactly what your bathroom needs.
A lot of homeowners assume valve issues mean it’s time to call in a plumber. But you’ll be happy to know that replacing a shower valve cartridge is actually a task many DIYers can handle.
In most cases, it is just a worn-out cartridge tucked behind the shower handle. That small piece does all the work, managing water flow and keeping the temperature steady.
This step-by-step guide lays out the process in simple terms with no unnecessary complexity or technical confusion. So, ready to fix that shower and get that water flowing the way it should? Let’s begin.
Over time, even the most reliable shower valves wear out, especially the cartridge inside. This small part is usually made of brass and plastic, and when the rubber seals inside begin to fail, problems start showing up.
If you are ticking off more than one of these signs, it may be time to replace the cartridge.
Before learning the process of replacing shower valves, it is helpful to know exactly what type you are dealing with. Not every type fits the same mold, and choosing the wrong one can drag out what should have been a quick job.
Not sure what yours is? Here is a quick breakdown to help you figure out what you are working with.
Before you start replacing that shower valve cartridge, you should take a minute to gather everything you’ll need. It becomes a whole lot easier when you are not running back and forth mid-project.
Below is the list of tools you’ll need to have nearby:
Wondering how long does it take to replace a shower valve? This quick guide breaks it down into five easy steps you can tackle in just 1 to 3 hours.
With the right tools and a bit of patience, you can get your shower back in working order without calling a Pro. Now, let’s understand and go through each step so you know exactly what to expect.
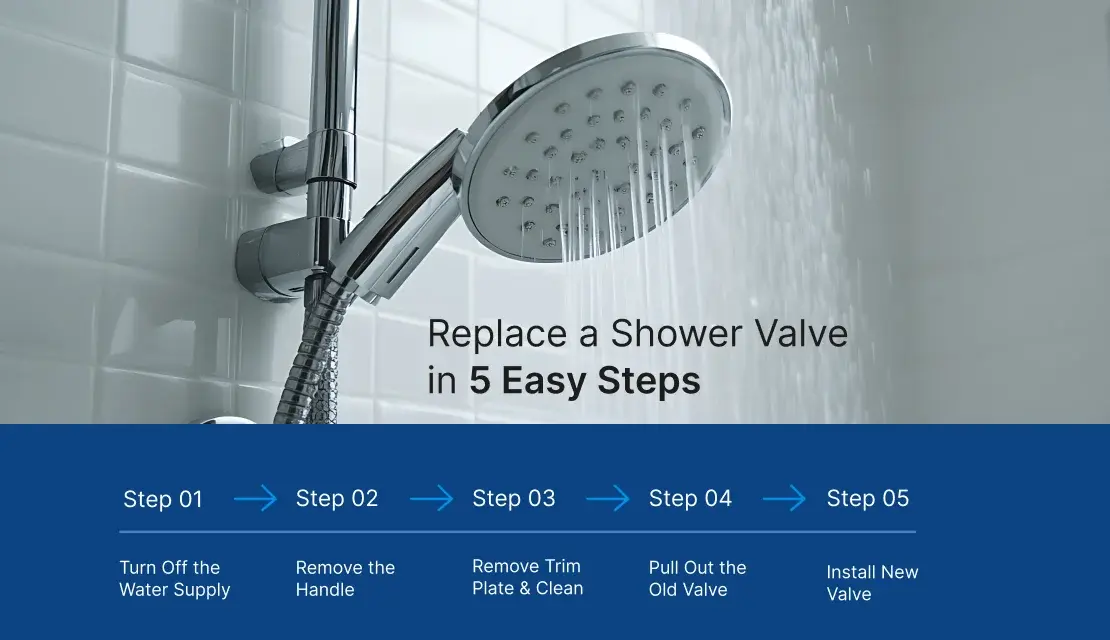
Before anything else, make sure the water supply is off. If your shower has a dedicated shut-off valve, that will make things easier. If it doesn’t, you’ll need to close the main valve for the house. Once that is done, go ahead and turn on the shower to let any water still sitting in the pipes drain out.
Then grab a rag or towel and cover the drain opening. This keeps tiny screws, washers, or tools from slipping into the drain and disappearing mid-repair. You’ll thank yourself later.
Now that the water is off, it is time to get access to the valve. Most shower handles are held in place by a tiny set screw, usually tucked underneath the handle. Take a quick look to see if you will need a hex key or a standard screwdriver.
Once you have got the right tool, loosen the screw and then carefully slide the handle off. Be careful not to drop any small pieces. Toss everything into a cup or bowl so you are not hunting for screws later. Removing the shower handle is a very basic but crucial step when learning the shower valve replacement process correctly.
Now that the handle is out of the way, it’s time to deal with the trim plate, that flat piece sitting flush against the shower wall. Use a screwdriver to remove the screws securing it. Once loose, pull it away carefully.
You will probably see some old caulk or grime stuck behind it. Take a few minutes to scrape off the leftover sealant and wipe the surface clean. If you are planning to reuse the same trim plate later, this cleanup step helps it sit properly when it goes back on.
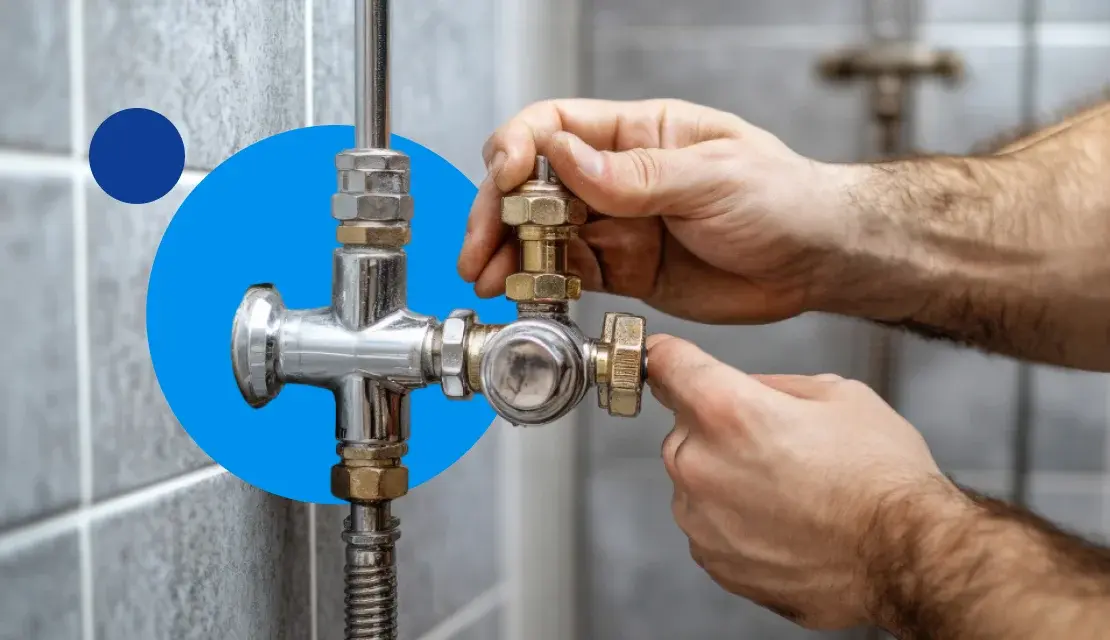
If you are just swapping out the cartridge, the job is a bit easier. Pull the retaining clip with needle-nose pliers, loosen any screws or nuts holding the cartridge, and slide it out using groove joint pliers.
However, if the entire valve needs to be replaced, you’ll require a bit more space. You may need to widen the existing hole or access the valve from the opposite side of the wall. Once exposed, grab a pipe cutter and carefully cut the hot and cold water lines, plus the pipe leading to the showerhead.
Installing a new cartridge is easy. Simply slide it into the valve, secure the clip, and tighten any loose components as needed.
Full valve replacement takes a bit more work. After checking your measurements, dry-fit the valve to make sure everything lines up. Clean the pipes and fittings, apply your flux, then heat the connections while feeding in the solder. This part requires a steady hand and some experience with a torch. If you are unsure, it’s totally fine. It’s a good idea to bring in a plumber, especially if you are learning how to replace a shower valve for the first time.
Once your new valve is in place, restore water flow and check for any leaks around the connections. If it is all good, go ahead and reinstall the trim plate and handle. Then, turn the shower on and make sure everything is working right.
Sometimes DIY isn’t the right route, especially when your shower shows signs of serious wear. If you spot any signs of heavy rust, corrosion, or mineral buildup around the valve or pipes, it is wise to have a plumber inspect them. Issues like that could indicate deeper problems behind the wall, such as aging pipes or poor water flow.
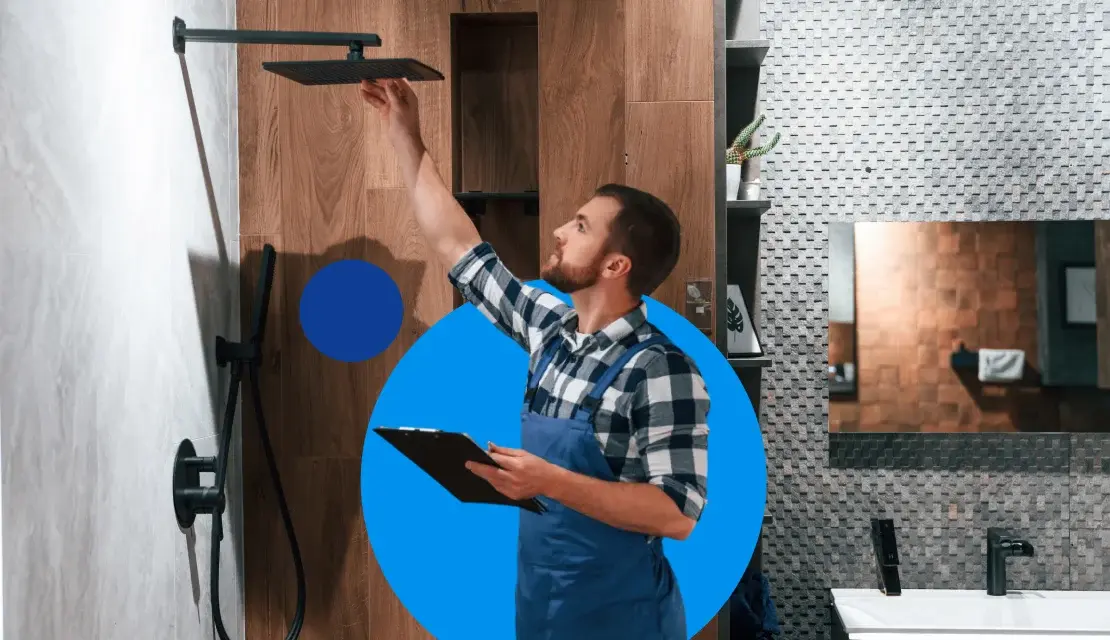
Also, if you are planning to upgrade from an older valve to a cartridge-style one, just know it is not always a simple swap. Hiring the right professional can make sure everything is done right without surprises.
Wondering how much do plumbers charge to replace a shower valve? Most homeowners end up spending around $350 to get it replaced, which covers both the parts and the plumber’s time. Depending on how tricky the job is and what kind of valve you are installing, the total cost can fall anywhere between $225 and $575.
For homeowners in smaller cities like Gillette in Wyoming, where plumber availability can sometimes be limited, these costs may vary slightly based on local service rates. This is one reason why many residents invest in a home appliance warranty in Gillette that includes plumbing coverage, helping to manage repair expenses when shower valves and other fixtures need professional attention.
If you are doing it yourself, expect to pay between $20 and $350 for the valve, depending on the type and brand. Cartridges alone usually cost $10 to $85. Hiring a plumber will cost about $225 to $575 and may vary a little depending on site conditions, plumbing accessibility, and the type of shower valve.
In many cases, yes, you can swap out the valve cartridge or trim without damaging your tiles. Some homeowners even use a wider escutcheon plate to cover small wall openings. But if full valve access is limited, removing a tile or two might be unavoidable.
Signs of a worn-out shower faucet or valve include low water pressure, inconsistent water temperature, or leaks. You may also notice that the handle becomes difficult to turn or that both the tub spout and showerhead operate simultaneously. When things go beyond a quick DIY, having a home warranty that covers plumbing systems and leaks can take the pressure off. It covers repair costs, so you are not stuck footing the entire bill.
A steady drip is often due to a worn cartridge, a faulty gasket, or a loose fitting. Try shutting off the water, inspecting the parts for wear, and replacing any damaged components. If the leak persists, you may need to reseal the joints or consider calling a plumber if the issue is more serious.

Don’t wait until it’s too late! Check out our current plans and get your free quote.
Home Warranty
When you purchase a home warranty, it’s a unique agreement to care for your home’s appliance and system needs. While you can choose which parts of your home are covered..
Household Tips
If you find your circuit breaker trips often, you’re not alone. Older homes aren’t built to handle families that use many electrical devices plugged in at once. This issue may..

Home Warranty
All homeowners can benefit from shielding their homes from appliance breakdowns with a home warranty. Home warranty protection brings peace of mind while helping you avoid the hefty costs of..